Dashboard
Getting started with eFirma
Sign up, create your company and issue your first invoice, then download it as a PDF or email it to your customer.
This article walks you through your first steps in eFirma: you create an account and a company, add a customer and issue your first invoice. Issuing invoices works on every plan, including Free.
eFirma also works in English. On the registration and sign-in pages, click English at the top right. Once you are signed in, click the profile icon at the top right and choose English. eFirma remembers this choice for your account.
Registration
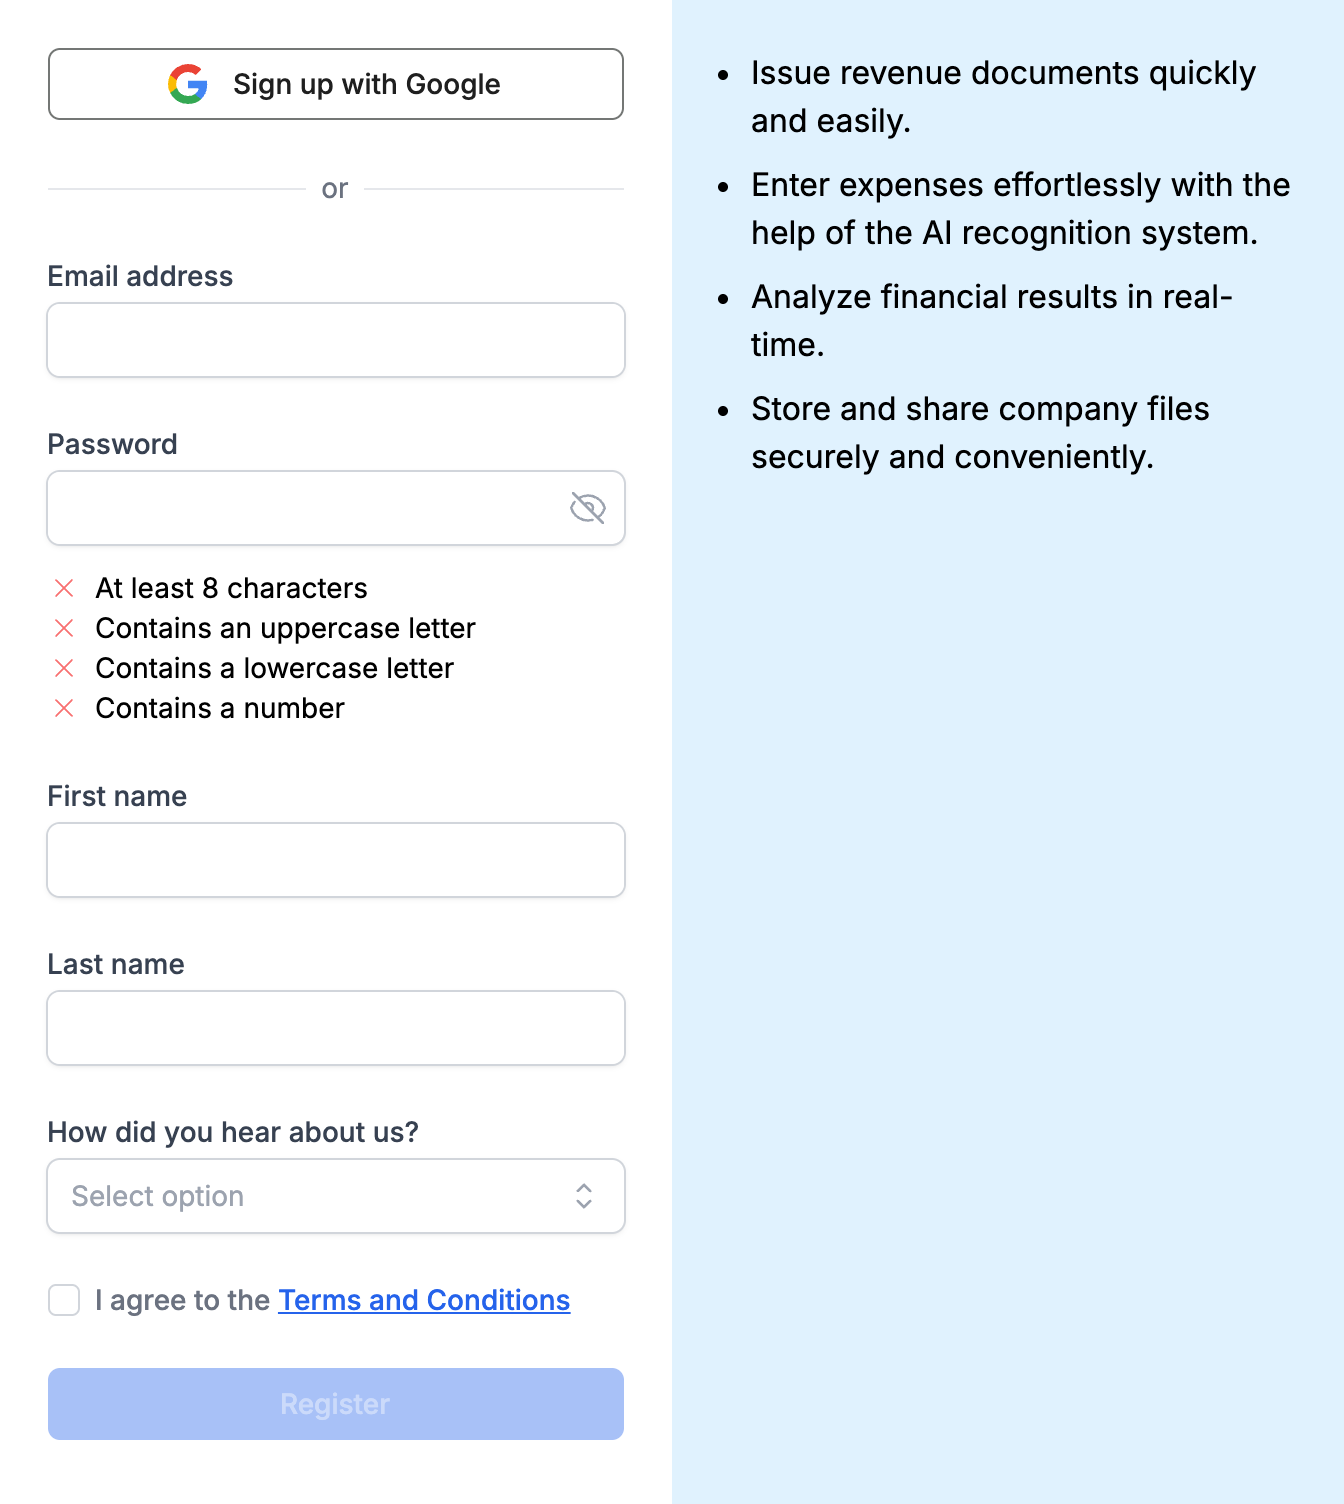
You can sign up with an email address and password or with your Google account.
- Open app.efirma.bg/register.
- Fill in Email address, Password, First name and Last name. The password requirements are shown below the password. The How did you hear about us? field is optional.
- Check the box to agree to the Terms and Conditions and click Register.
- Open the email from eFirma and click Confirm your registration. If you do not see it, check your spam folder or click Resend confirmation email.
If you prefer Google, click Sign up with Google, choose your account, check your name, accept the Terms and Conditions and click Create account. When you sign up with Google, you do not need to confirm your email address.
Creating a company
After you confirm, click Go to Homepage and eFirma takes you to the Create your first company form.
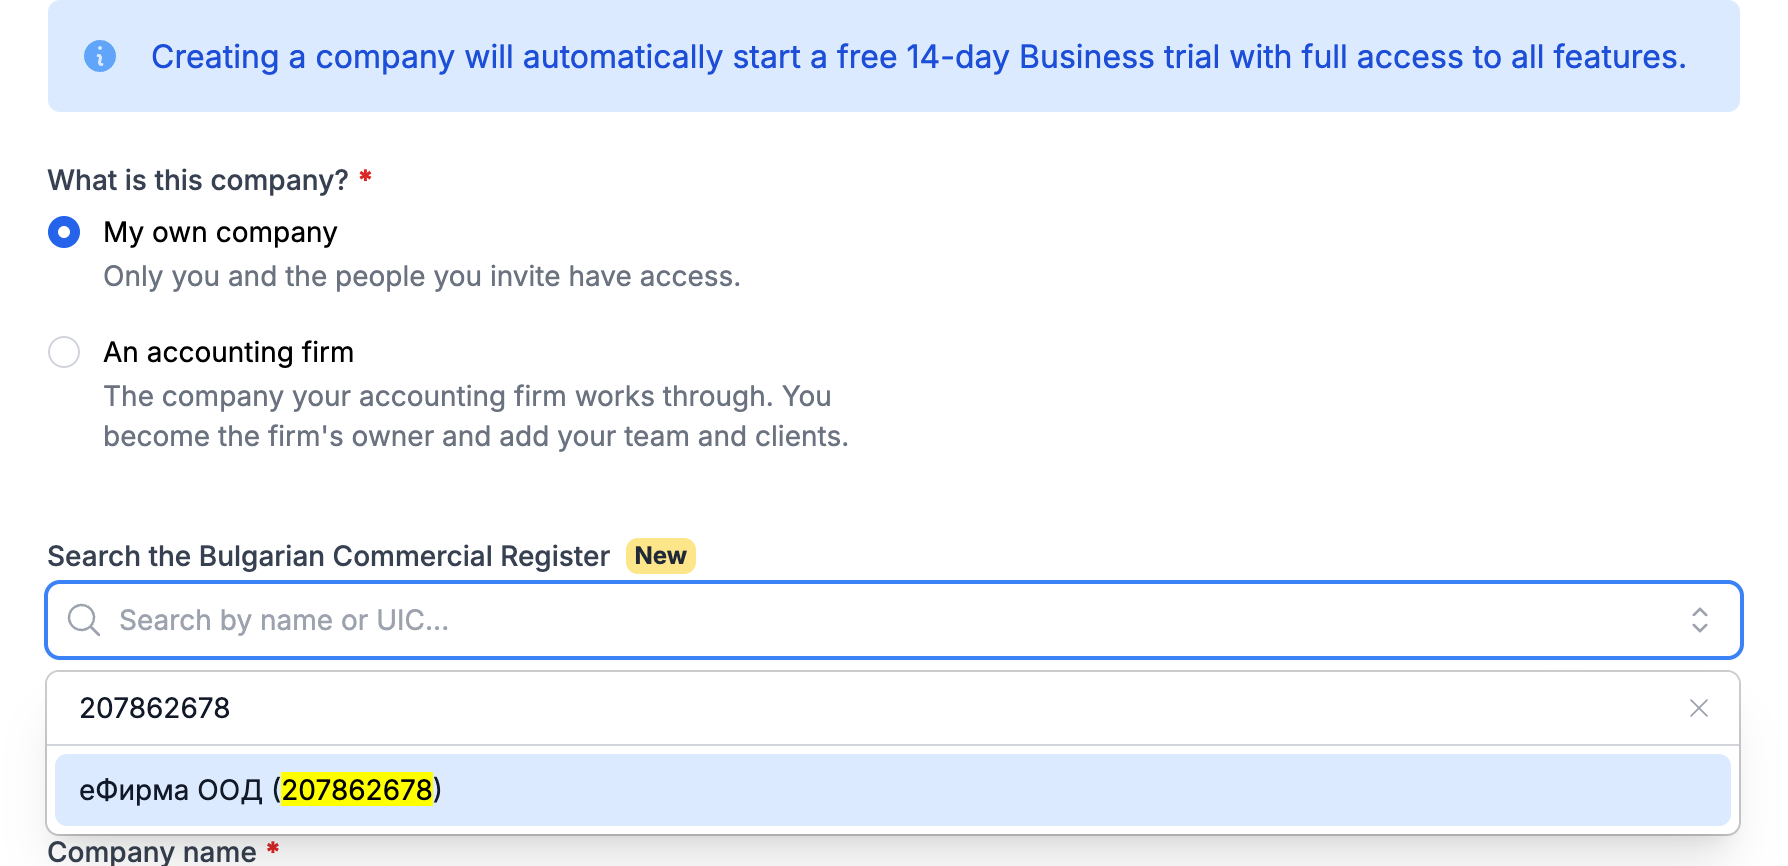
- Under What is this company?, leave My own company selected. Choose An accounting firm only if you are creating the company your accounting firm works through.
- In Search the Bulgarian Commercial Register, type at least three characters of the company's name or UIC and choose it from the list. eFirma fills in the name, UIC and address from the register. It then checks in VIES whether the company is VAT-registered and, if it is, turns on The company is registered under VAT and fills in VAT.
- If the company does not appear in the search, fill in Company name and UIC by hand.
- Click Create company.
Trial period
Every new company starts with a free 14-day trial of the Business plan, and you do not need to enter a card. A company created with An accounting firm selected gets a trial of the Firm plan. The side menu shows how many days are left, and View plans takes you to the plans.
Sending documents by email requires a paid subscription and is not included in the free trial. If you do not choose a paid plan by the end of the trial, the company moves to the Free plan. Your data stays, and you can still issue invoices on Free. You can read more about the plans in the article How do I choose and change my plan?
Adding a customer
A customer is a contact in eFirma. You can add one in advance from Contacts with the New contact button, or directly from the invoice, as described below. The article How do I add a contact? explains the form in detail.
Issuing your first invoice
- Open Revenues from the menu and click New invoice.
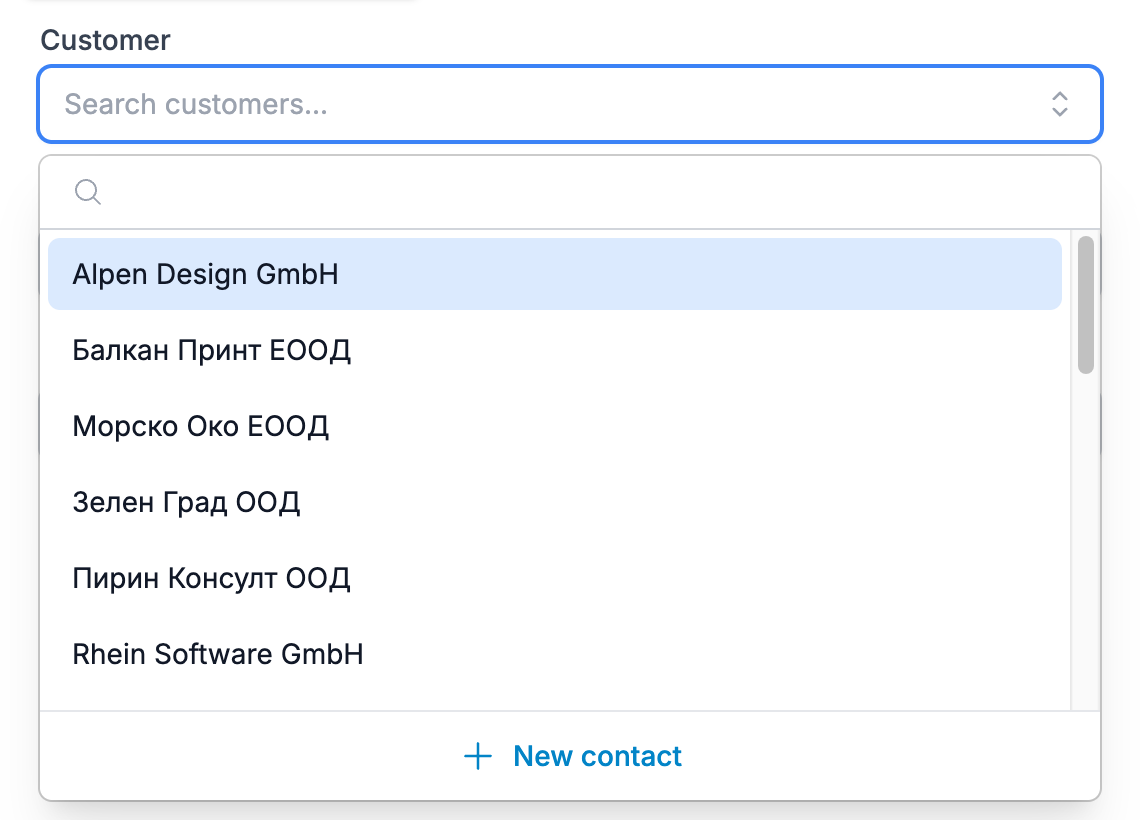
- In the Customer field, search for the customer by name. If they are not there yet, click New contact at the end of the list, fill in their details and click Save. The contact is created as a customer and selected in the invoice right away.
- In the Add item field, type what you sell. Choose an item from the list or add what you typed as a single-use item, then fill in the quantity and price.
- The number and dates are filled in automatically. If your numbering has to continue from another program, read the article How do I set up invoice numbering? before you save.
- Click Save. The invoice opens.
You can read more about filling in an invoice in the article How do I issue an invoice?
Downloading and sending the invoice
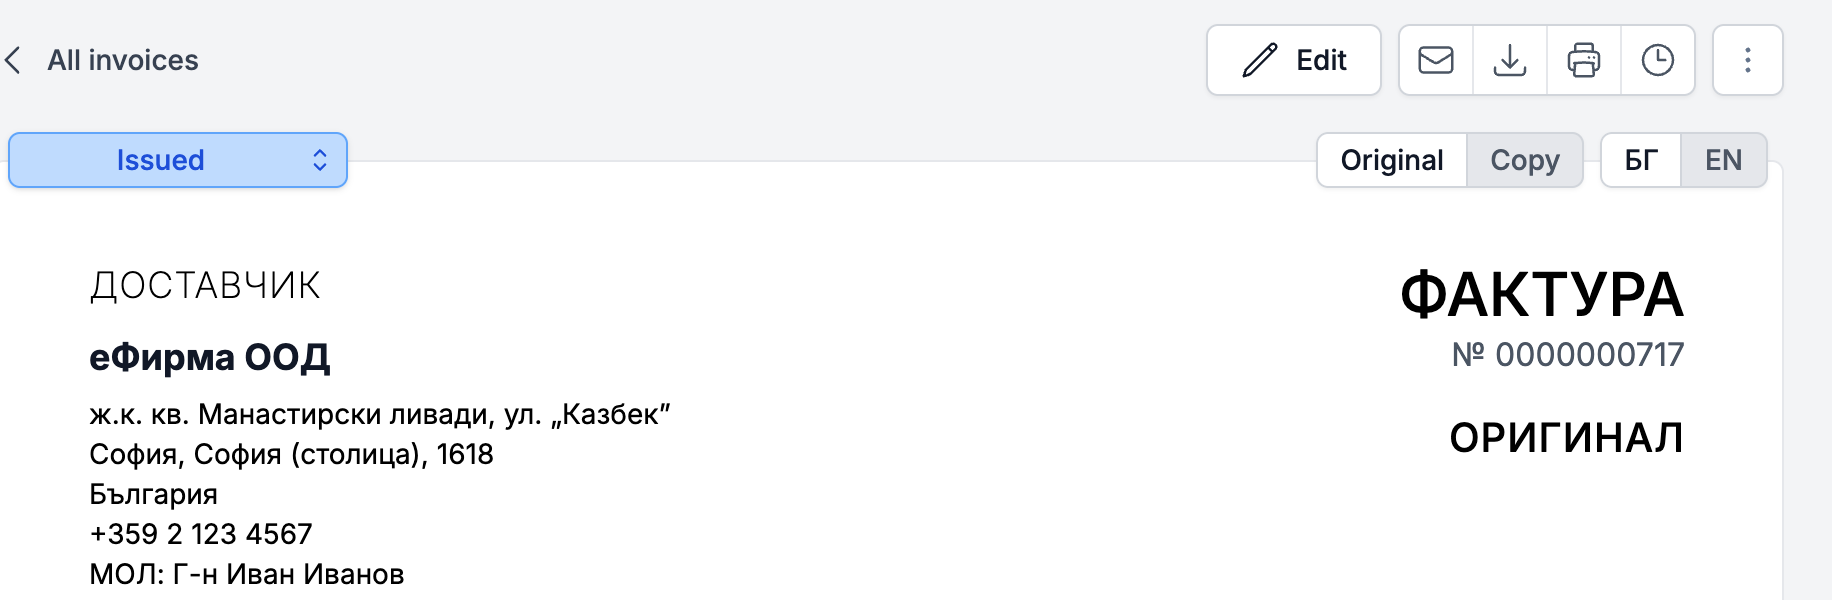
The actions are above the invoice on the right. On a phone, they are in the three-dot menu.
- PDF downloads the invoice as a PDF file. This works on every plan.
- Send email opens a window where To is filled in with the customer's email address, if you entered it in the contact. Check Subject and Body and click Send. The invoice is attached to the email as a PDF file.
Sending by email is included in the Business and Firm plans. During the free trial and on Free, the window shows that a paid subscription is needed, and the Send button is disabled. Until then, you can download the PDF file and send it yourself.
Did not find an answer? Write to us through Feedback in the app or through the contact form.
Ready to get started?
Registration is free, and your first invoice takes only a minute to issue.
Start for freeNo credit card required. You can cancel at any time.