Expenses
How do I add an expense?
Enter an expense by hand, or upload the supplier's file and let AI fill in the data. For many documents at once, use batch scan.
In Expenses you record the invoices and other documents you receive from your suppliers. You can enter an expense by hand, or upload the document's file and let AI fill in the data for you. When you have many documents, upload them all at once with batch scan.
Adding and editing expenses is included in Business and Firm. On the Free plan, expenses you have already entered stay available to view and download, but the New expense button is disabled.
How to enter an expense by hand
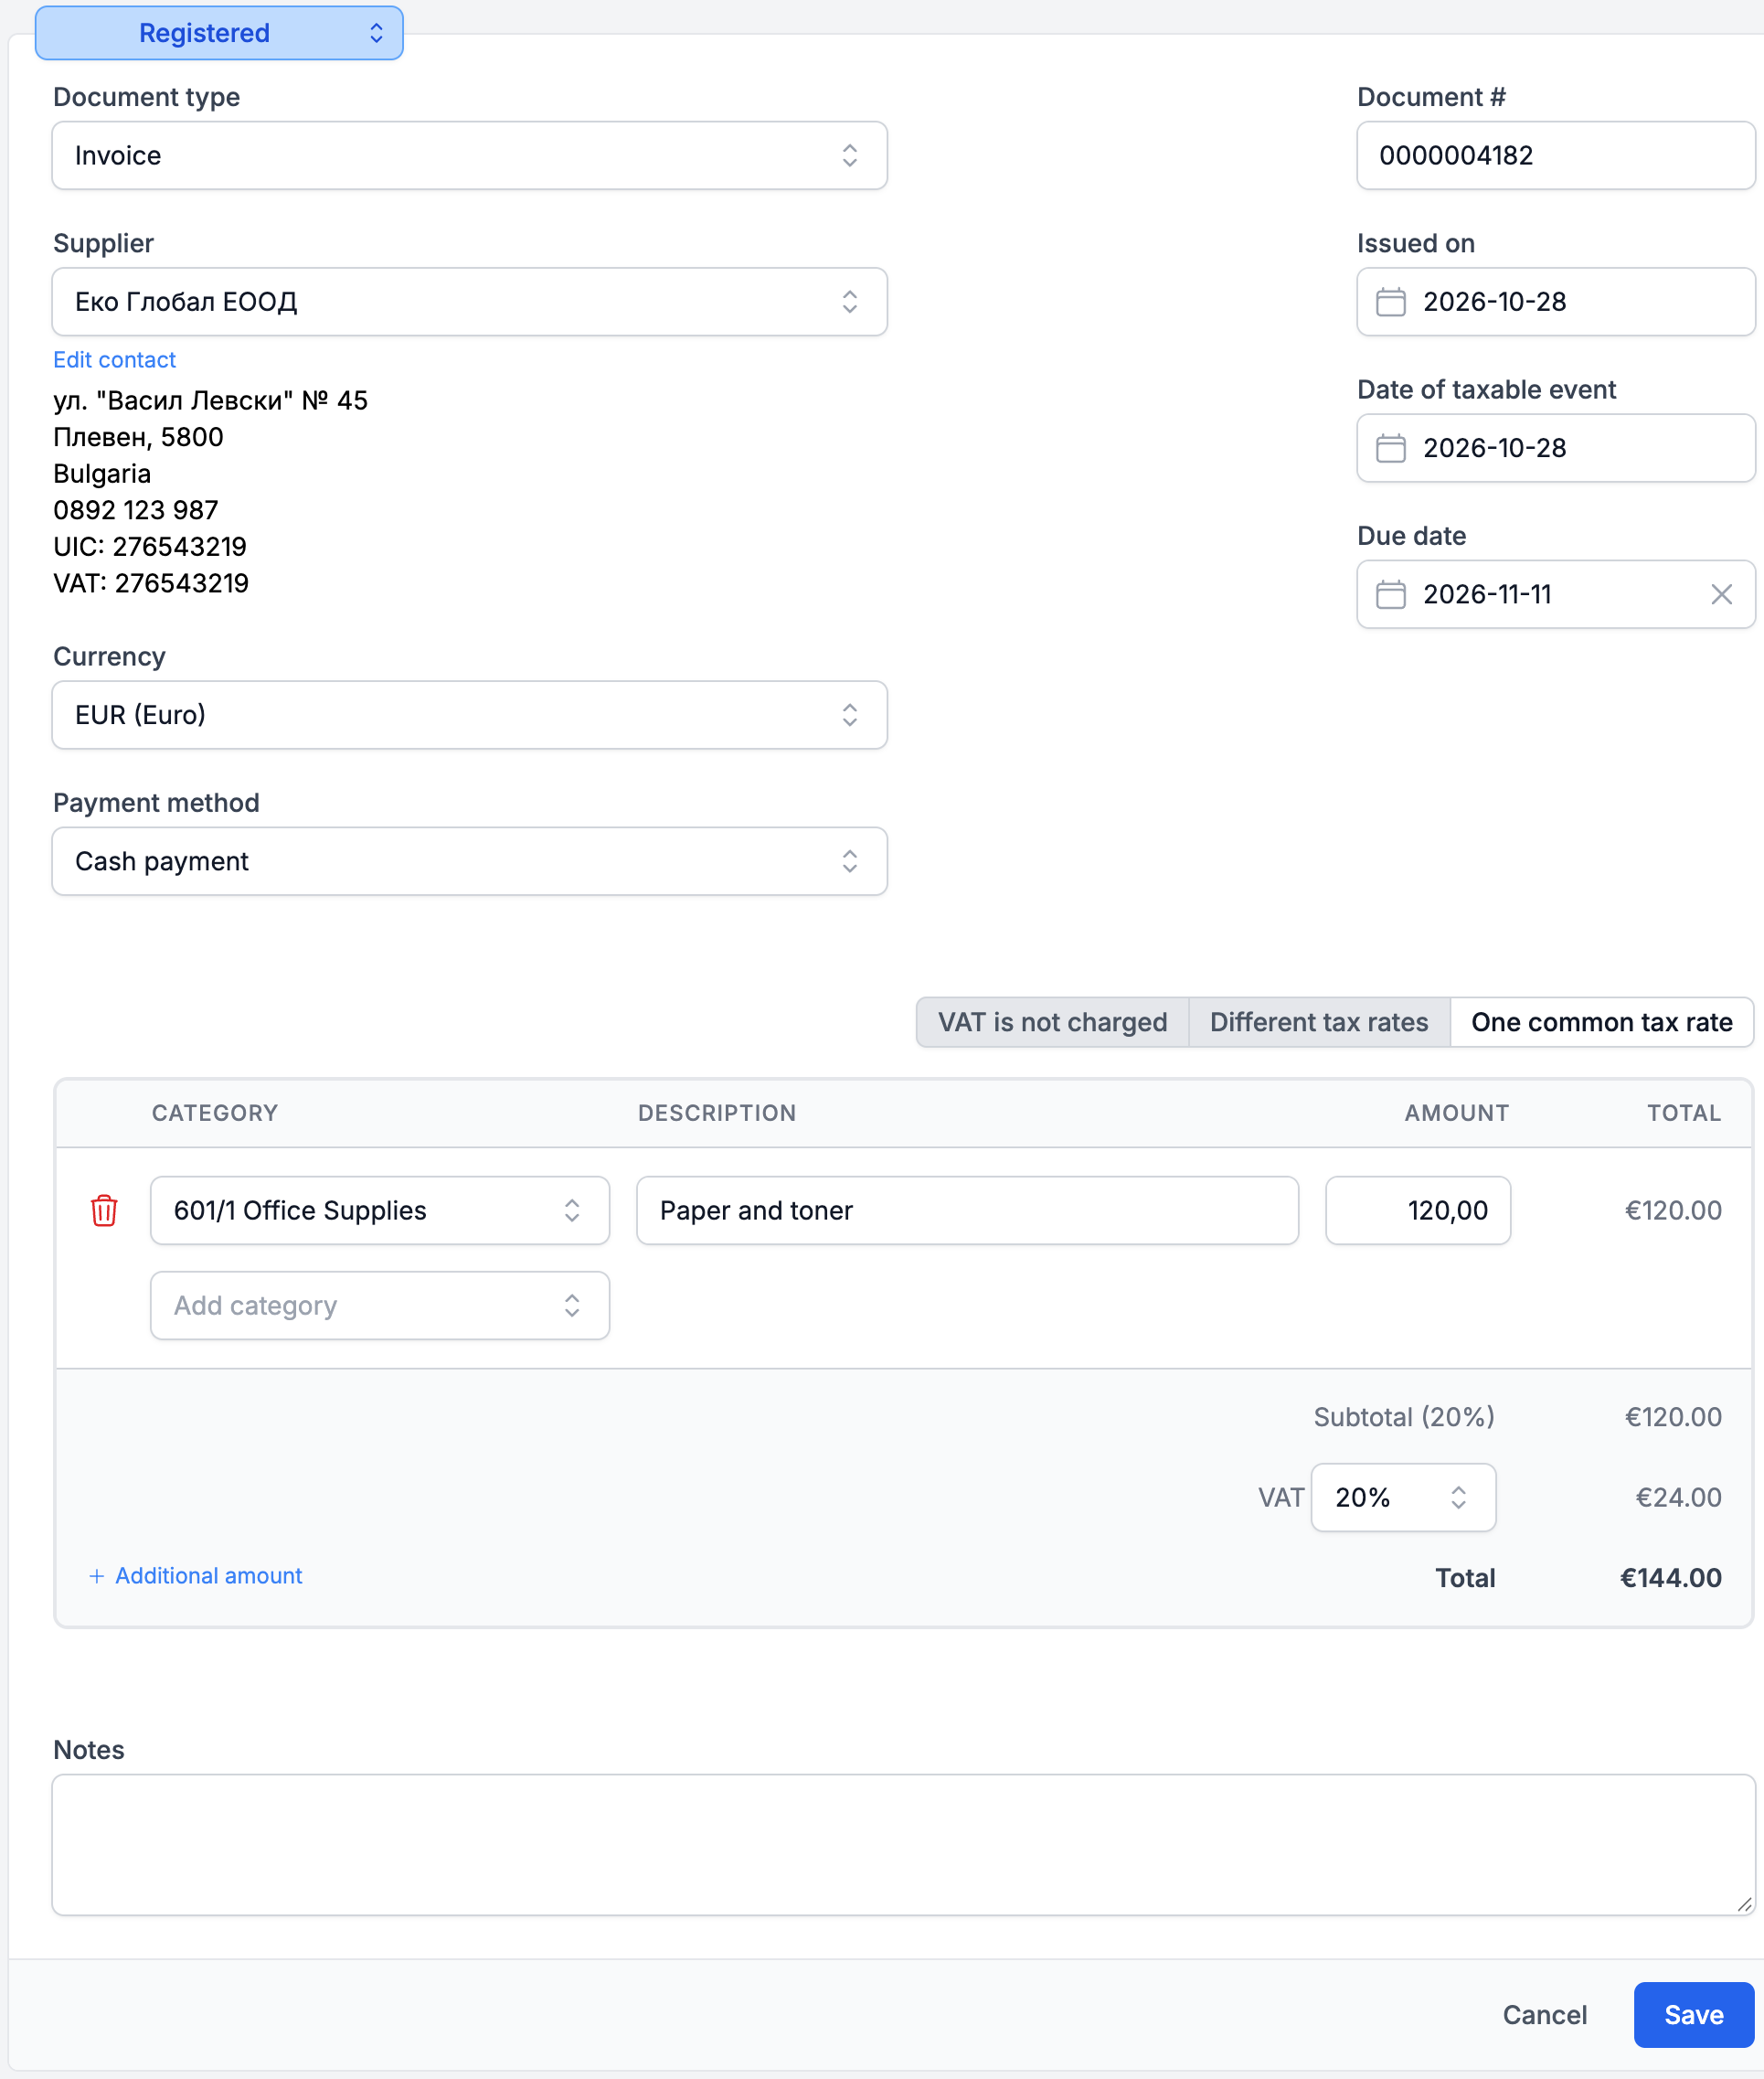
- Open Expenses from the menu and click New expense.
- Choose the Document type and the supplier in the Supplier field. If the supplier is not in your contacts yet, click New contact in the dropdown.
- Fill in Document #, Issued on and the other dates.
- From the Add category dropdown, choose a category. This adds a line where you enter a description and an amount.
- Click Save.
How to fill in an expense with AI
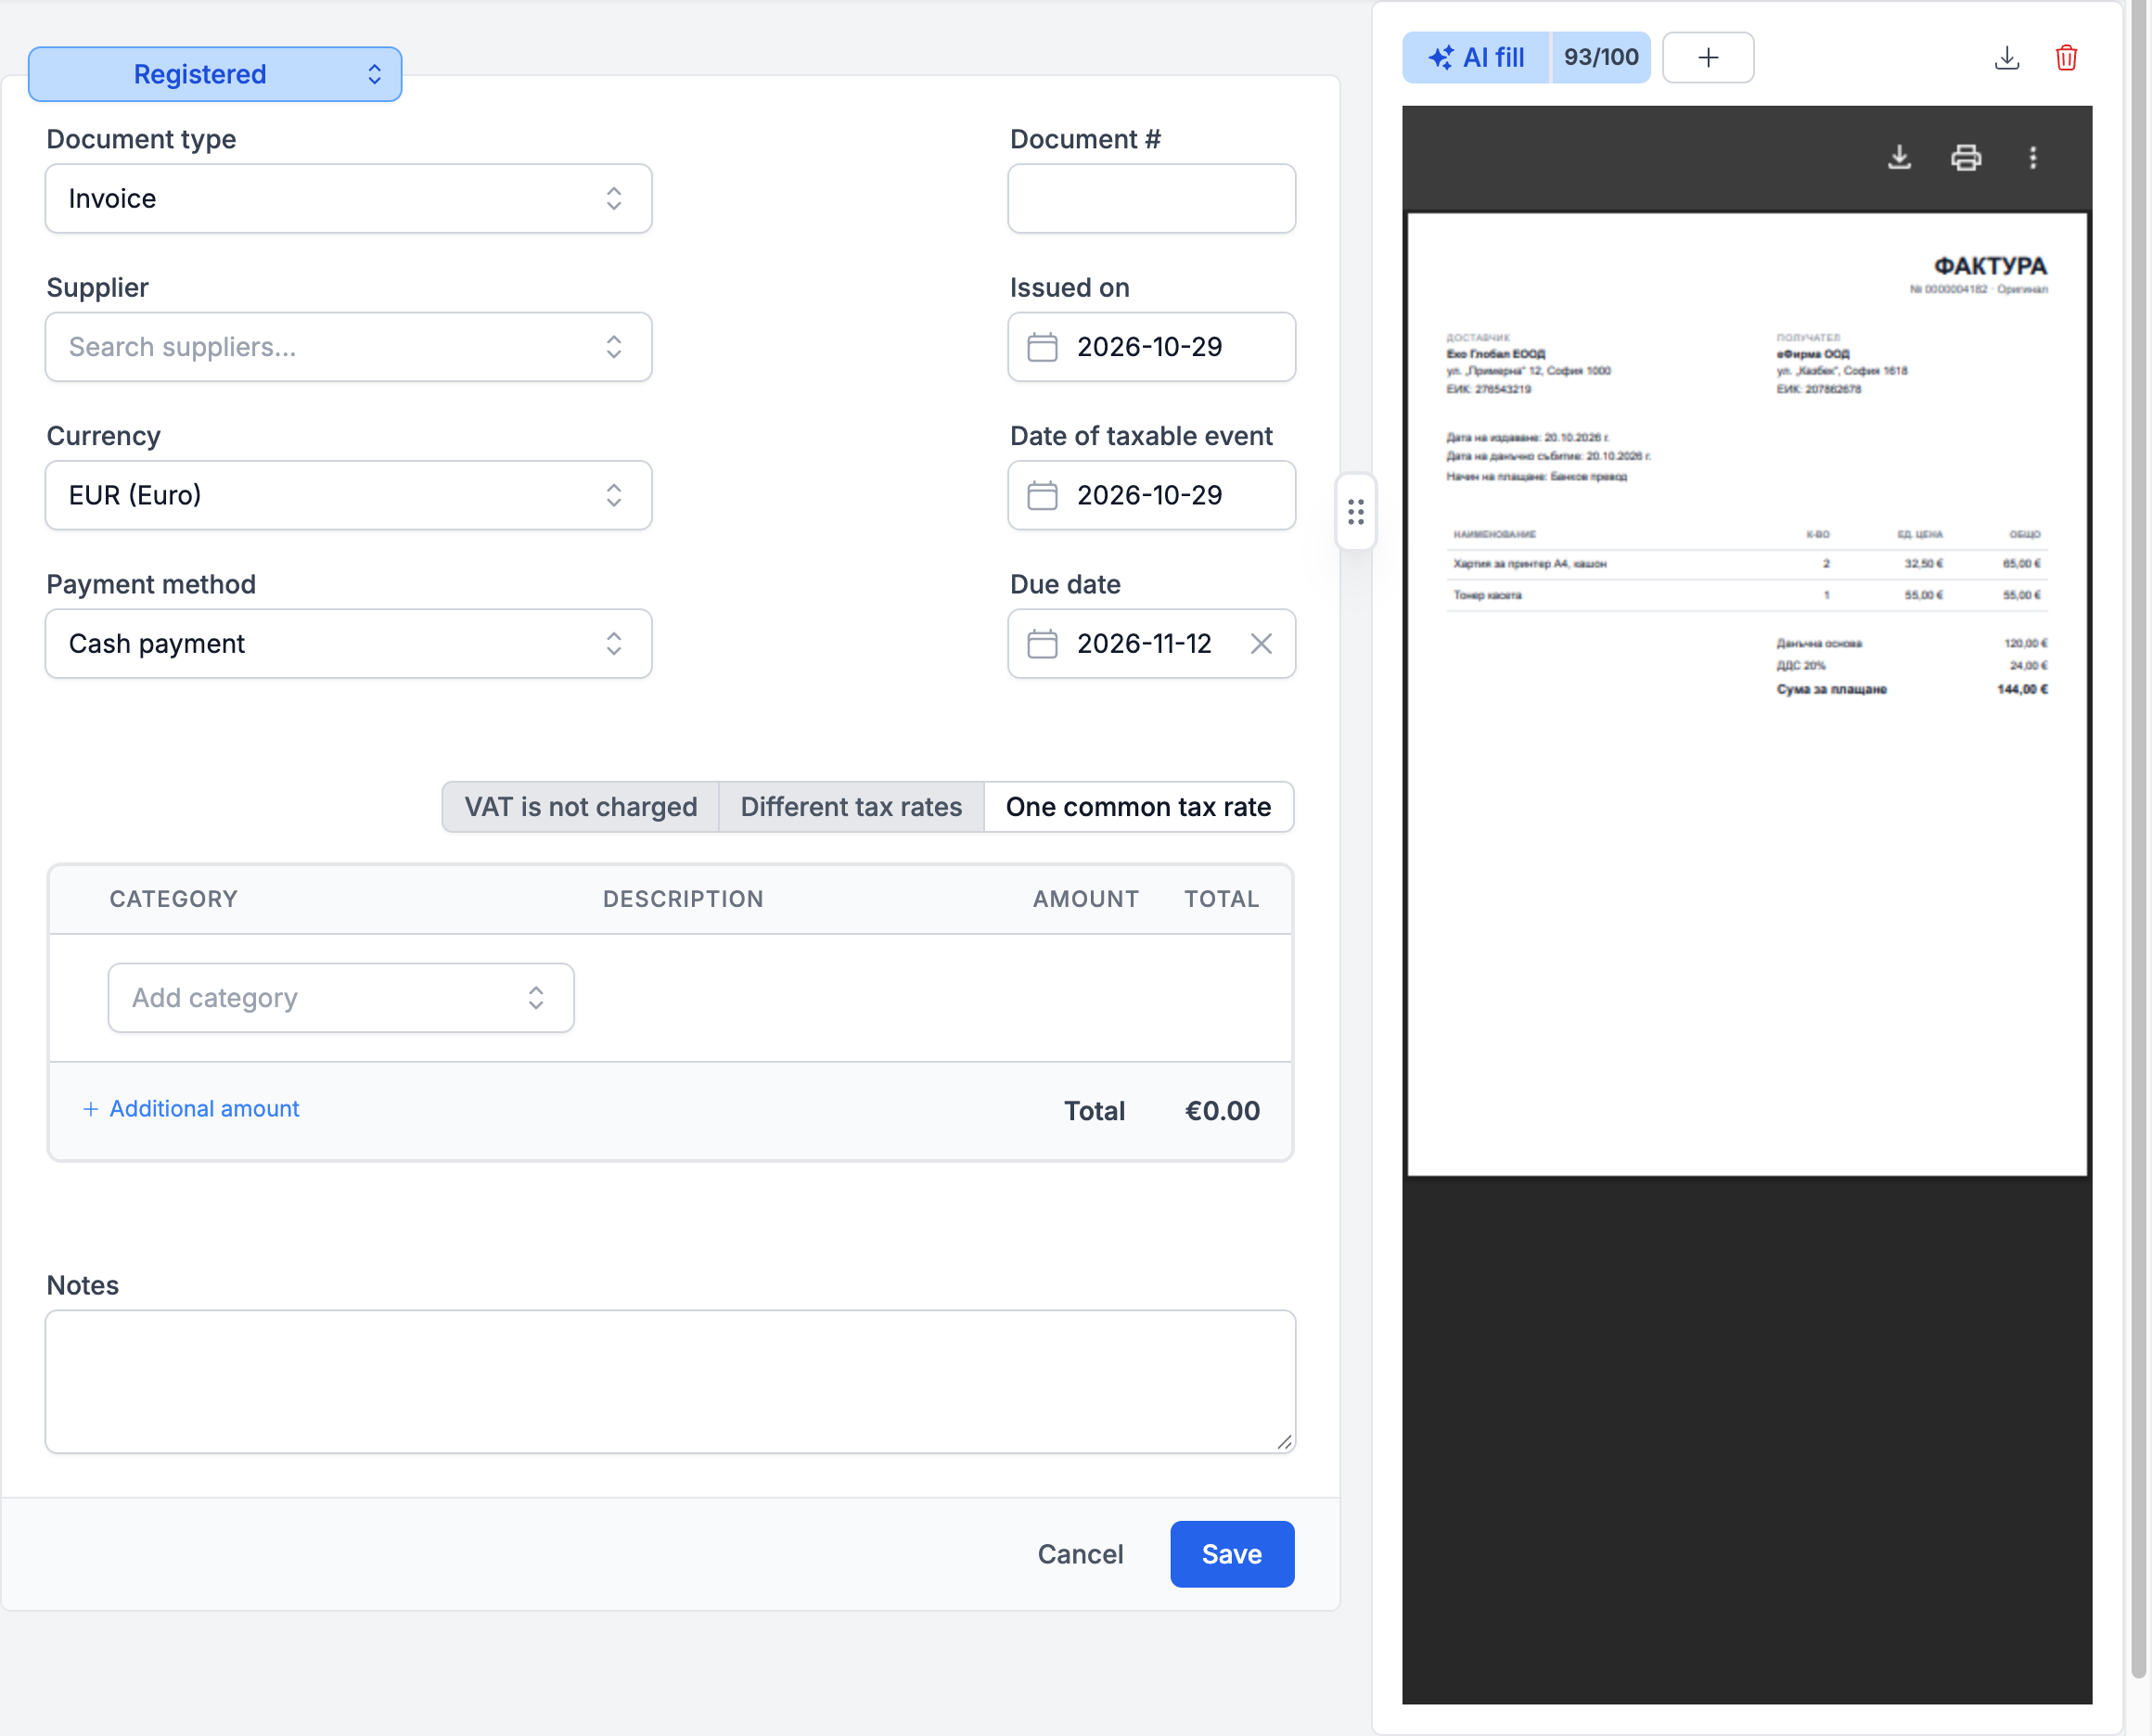
- In New expense, drop the file onto the attachments panel, or click the panel to choose it. AI reads PDF, JPG, PNG and WEBP files.
- Click AI fill. Next to the button you see how many monthly scans you have left.
- Check the data. Every field filled in by AI has a mark that shows Filled with AI when you hover over it. The mark disappears when you change the field.
- If the supplier is not in your contacts, eFirma offers to add it with Create contact.
- Click Save.
If you already have an expense from the same supplier with the same number, you will see a warning above the file with a link to it. If the file contains several documents, only the first one is filled in, and the warning tells you how to create an expense for each of them.
You can also take a photo of the document with your phone. On your computer, click the + button in the files panel, choose Upload from phone and scan the QR code. On your phone, choose Take photo or Choose photos or files and send the files. They are attached to the expense automatically.
How many scans you have
Each file scanned with AI uses one scan, even when AI cannot extract data from it. Business includes 100 scans a month, and Firm includes 500. The firm's team also uses the Firm scans in its clients' companies when a client has none of its own.
Monthly scans renew at the start of each month. When they run out, you can buy extra scans. They are used after the monthly ones and do not expire, but they are not sold during the trial. You can read more about buying them in the article on plans and subscriptions.
How to scan many documents at once
- Open Batch scan under Expenses in the menu.
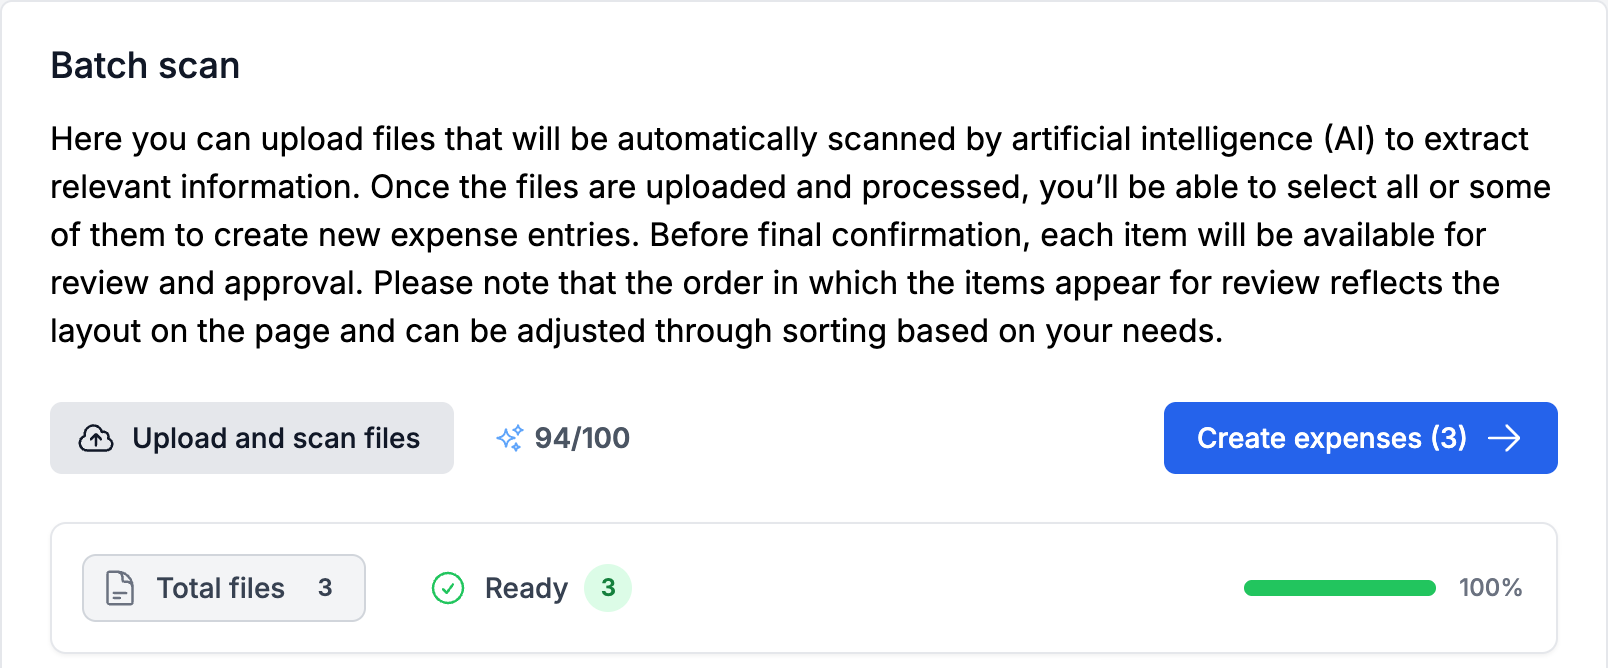
- Click Upload and scan files or drop the files onto the page. You can also drop a whole folder.
- Wait for the processing to finish. The bar above the files shows how many are Ready, No data, Duplicates and Awaiting scan.
- Click Create expenses. If you want only some of the files, select them and click Create selected.
- The expenses open one by one next to their file. Check the data and click Save, and the next one opens. Use the arrows at the top to move between them, and Delete to remove a file you do not want an expense for.
In batch scan, eFirma splits a PDF file with several documents into separate files, one for each document, and each of them uses one scan. If the split fails, the file stays whole, only the first document is scanned and a warning is shown next to it.
A file that is already in the list is marked as a duplicate and is not scanned. Remove duplicates with Delete duplicates. New suppliers are added to your contacts automatically, and a file that hit an error during processing does not use a scan.
When your scans run out, new files stay in the list as Awaiting scan. Once you have scans again, click the button in the message above the files, for example Scan 3 documents. You can also select such a file and enter the expense by hand.
Did not find an answer? Write to us through Feedback in the app or through the contact form.
Ready to get started?
Registration is free, and your first invoice takes only a minute to issue.
Start for freeNo credit card required. You can cancel at any time.